Batten Down the Hatch
Insulate your attic hatch for energy savings
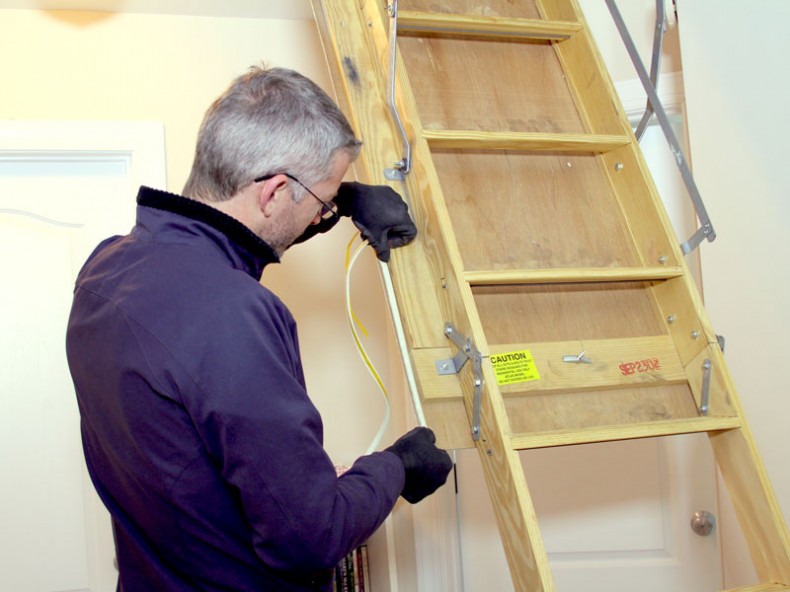
By Miranda BoutelleIf buying materials or ready-made kits is not in your budget, inexpensive weatherstripping provides a minimal level of protection. Photo by EnergySmart Academy.
Attic hatches are often overlooked sources of energy waste, even if the rest of the attic is properly insulated. It should be noted if your attic access is located in an area you are not paying to heat or cool, such as your home’s exterior or garage, there’s no need to insulate it.
For attic access points inside the home, it’s important to seal them properly with durability and functionality in mind. Attic hatches should be insulated close to the same R-value as the rest of the attic. (R-value is the insulation’s capacity to resist heat flow.)
Attic access types vary, but here are a few tips on how to insulate standard and ladder attic hatches.
Standard attic hatches
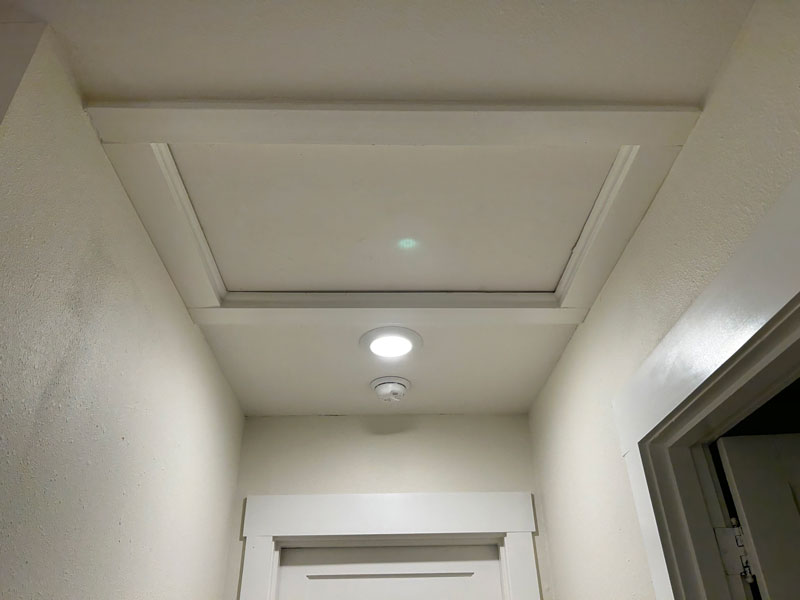
A standard attic hatch is typically a covered rectangular hole cut into the ceiling. If your hatch is drywall, I recommend replacing it because it is difficult to properly insulate and seal a drywall hatch. They often crumble and crack around the edges, leading to more air leaks.
Ready-made insulated hatches are available online or at home improvement stores, or you can insulate and seal your existing attic hatch. Either way, measure carefully to ensure you create an effective seal.

When insulating a home, attic hatches are often overlooked. Save energy and eliminate drafts by insulating attic hatches inside your home. Photo by Abby Berry
To improve your existing hatch, replace drywall attic hatches with ¾-inch plywood cut to fit. If you have loose-fill insulation in your attic — as opposed to fiberglass batts — install a dam or barrier that extends 2 inches above the level of insulation to prevent it from spilling into the house when you open the hatch. Use unfaced fiberglass batt insulation or plywood to hold back the loose fill insulation.
To insulate the hatch, use rigid foam insulation cut slightly smaller than the plywood attic hatch. Use screws and fender washers to secure the first layer of rigid foam to the hatch. Add layers of rigid foam by taping the edges together one at a time using foil tape. Always wear gloves when using foil tape to prevent cuts. Keep layering the rigid foam until you reach the desired R-value.
Remember to seal any gaps between the drywall and trim, using caulk for smaller gaps and foam sealant for larger ones. Finish the job by applying adhesive weatherstripping around the hatch perimeter. Install the weatherstripping on the hatch itself or on the trim supporting the hatch.
Ladder attic hatches
For attic hatches with dropdown ladders, you’ll follow the same instructions: Install a dam, air seal and insulate. Be sure to account for the space of the folding ladder.
To insulate, build a box to sit in the attic around the hatch. I suggest using wood for the sides tall enough to accommodate the folded ladder. The top of the box will be rigid foam you can remove to get into the attic. Cut the first piece of foam to fit inside the box and the next layer to fit on top of the box. Keep layering until you reach the desired R-value.
To get a good air seal, you may need to remove the existing trim to seal the gap between the drywall and hatch frame. Add weatherstripping to the hatch or the underside of the frame to form a tight seal when closed.
There are several commercially available options for insulating ladder hatches. Remember to check the product’s R-value and measure carefully.
If purchasing the required materials to seal and insulate your attic hatch is not in your budget, I recommend weatherstripping the hatch perimeter. While it won’t provide the same level of insulation, it’s a simple, low-cost option for blocking air drafts.
-
More tips for home energy savings
-
Share this story:


Comments (1)
Happy Hiller |
October 16, 2023 |
reply